
Sealing your garage floor to retain the bare concrete look is an easy DIY project that can be accomplished in a weekend. The key is to use the correct application techniques and avoid some of the more common mistakes. So in an effort to help you along, we have listed 8 concrete sealer application tips for your garage floor that will ensure a successful outcome.
To be clear, these application tips are intended for those who want to seal and retain the looks of their bare garage floor. Sealing is usually accomplished with a penetrating sealer, densifier sealer, or some combination of the two. You can find more information about penetrating sealers here.
Another type of application that is somewhat popular is the clear, film-forming acrylic sealers and hybrid acrylic blends. These provide a thin coating that slightly darkens the concrete and provides a glossy, decorative look.
If you intend on sealing your garage floor with a thicker resinous coating such as epoxy, polyurethane, or polyurea blends, then we recommend that you read these application tips here. For more information about garage floor sealers, we recommend that you read this article here.
Concrete Sealer Application Tips
1. Follow the manufacturer’s directions
Believe it or not, quite a few mistakes are made from not following the directions. Even if you have applied a sealer to your garage floor before, each manufacturer has its own specific set of instructions to follow. Many times you can find manufacturer application directions from their technical data sheets online.
If ever in doubt, contact the manufacturer first before you apply the sealer. Trust us; there isn’t a question they haven’t heard before.
2. Proper concrete preparation
Preparing the concrete of your garage floor properly is the key to any successful sealer application. This includes making sure the garage floor is clean and has the correct surface profile. Most concrete surfaces need to have a somewhat porous surface in order for the sealer to penetrate into the concrete or adhere to the surface. Generally, if the concrete will absorb water, it will absorb a sealer.
Check with the manufacturer to see what type of surface profile is required. In addition to cleaning the surface, you may need to lightly sand or apply a mild acid etch solution to the surface first to insure proper sealing.
Tip: Make sure that the concrete of your garage floor is bone dry before applying the sealer. Most sealers will have an adverse reaction to concrete that is still releasing moisture into the air from being wet within.
3. Use a quality and appropriate lint-free roller
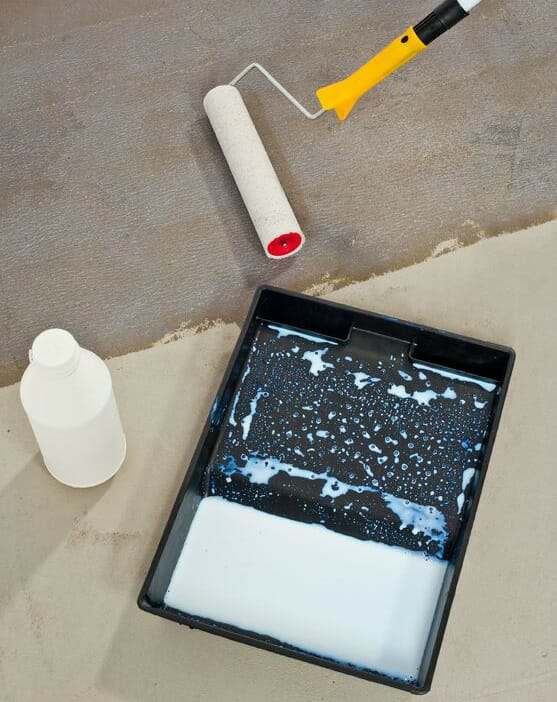
Don’t buy cheap roller covers to save a dollar or two. Use quality lint-free roller covers like the Purdy White Dove line or the Wooster Doo-Z
line of roller covers. These are shed-resistant rollers that won’t deteriorate from the solvents of some sealers.
Tip: Run the roller cover over a strip of duct tape to remove any loose lint that may still be present from the manufacturing process. This will insure that you will have zero lint stuck to the surface of your garage floor.
Pay attention to the proper nap thickness as well. Most sealers are applied with 1/4” or 3/8” nap rollers. Anything thicker will result in a heavier application which can cause problems with the looks and performance of the sealer. See tip #5.
4. Keep a wet edge
Complaints about seeing roller marks or lap lines are common when applying thin film-forming sealers such as acrylics. To avoid roller marks, always keep a wet edge, and do not try to stretch the sealer by letting the roller run dry. Keep it wet and run over the previous pass an inch or two in order for the two passes to blend in together as they cure.
Tip: Never run the roller over a section where the sealer has already started to cure. This will result in a blotchy-looking mark as wide as your roller.
5. Thin to win baby
Yep, this saying applies to sealers as well. Film-forming topical sealers such as acrylics need to be applied in multiple thin coats to be the most effective. If applied too thick, they can develop blisters, bubbles, hazing, foam, and appear milky as they cure.
Stress fractures that appear as cracks within the sealer can develop also when it is applied too thick in one application.
6. Use a cone-shaped nozzle for pump-up sprayers
If applying your sealer with a pump-up garden sprayer, be sure to use a cone-shaped nozzle and not a fan-shaped nozzle. The cone shape will create an even distribution of the sealer and helps to avoid heavy overlap marks and dark stripes in the concrete.
Tip: Apply in a circular pattern and not side to side in order to apply in an even distribution. Keep a constant air pressure to the spray nozzle in order to provide a consistent spray pattern.
Another application tip when using a pump-up sprayer is to filter the sealer first with a paint strainer. This will keep your nozzle from clogging from clumps of sealer material. If you don’t have a paint strainer a large coffee filter will work in a pinch.
7. Do not let sealers puddle on the concrete
When applying densifiers and penetrating sealers to your garage floor, do not let the sealer puddle. The general rule is that if it has not been absorbed into the concrete after 8-10 minutes, back roll the excess sealer to remove it.
Some densifiers and penetrating sealers require agitating with a stiff brush to promote absorption into the concrete. Check with the manufacturer first.
If puddles are left to dry, they will form a white hazy substance on the surface that takes some time and scrubbing to remove. Puddles of acrylic sealer will turn hazy and can show internal stress fractures that look like cracks.
8. Check the air temperature before applying sealers
Film-forming sealers like acrylics should be applied at temperatures between 50 and 80 degrees. If it’s warmer than that, the sealer can cure too quickly causing bubbles to form from evaporating too fast. Avoid applying if rain is expected within 24 hours of application or the humidity is above 85%.
Penetrating and densifying sealers can usually be applied in temperatures between 40 and 90 degrees. Always check with the manufacturer’s installation instructions first to verify temperatures.
If you put these concrete sealer application tips to use you shouldn’t have any problems when sealing your garage floor. Contact the manufacturer with any questions you may have before application and never use a product if you are unsure of how to apply it effectively.
I recently built a new garage for my home, and I wanted to find the best sealer for the floor as well as do the job really effectively. I appreciate your tips about proper concrete preparation, that was really helpful and answered one of my main questions. Thank you for going over the process so thoroughly with such helpful information!
Thanks for these great tips on applying concrete sealers! We just barely had the garage floor and driveway repaved, and our concrete supplier suggested that we should probably get the concrete sealed before the weather drops again. We’re currently in the 60s as far as temperatures go, so it sounds like this is a good time to apply the sealer.
I’m a concrete professional and roller lines are always the big dread of any job and play a big factor in material choice.
Epoxies are by far the easiest. apply quickly and You can back roll twice in opposite directions walk away. This levels it out and any roller lines settle.
Urethanes and acrylic sealers are tricky to roll out. No back rolling !!!
Once you lay it out you can’t touch it very much.
Truth is you have to actively campaign for success. Time is the enemy
#1 Section off your work into bite size pieces. Take advantage of saw cuts and doorways to break the application into smaller sections. Develop an entry and exit strategy. Plan for obstacles: going around pipes, columns, under stairs, closets… Mask 12″ off floor.
#2 Set-up all tools and gear beforehand. 6 inch roller on a pole. 18 inch roller on a poll, 2″ chip brush and a flat tray like the top of a plastic tote to set them on. 2 pump up sprayers. Damp rag for water based,
Denatured alcohol and a rag for solvent based. Slip on shoes.
My techniques is that I spray out a line of sealer with the sprayer and then back roll material out. 6″ roller for edges and cutting around things, 18″ for the body of the floor. Breaking the floor into sections allows you to maintain a wet edge over shorter distances.
2 sprayers, because in the real world sprayers suck. Load up two sprayers. One will always work better than the other. Pump up sprayers will gum up, spit and sputter and drip on your floor. If you’re just spraying this is disaster, gloom and despair. However, because you can back roll this out while its fresh and wet it’s now only a mild pain in the ass.
How do you tell if a smooth concrete slab after diamond ground is porous enough (properly profiled) to accept a deep penetrating sealer? Is there a water drop size and amount of time for it to absorb?
If you apply water drops the concrete should almost immediately turn dark from the water being absorbed. It the water tends to bead up and sit or the concrete does not turn dark from absorbing the water, then it is not properly profiled.
How long do you have to wait before applying to a new garage floor
Hello David. You need to wait 30 days.